文章内容
2018/7/14 15:15:36,作 者: 黄兵
.net core 2.0如何发布到Ubuntu 16.04 x64
最近需要把IdentityServer 4发布到Ubuntu 16.04 x64上面,发布过程记录一下,方便以后操作:
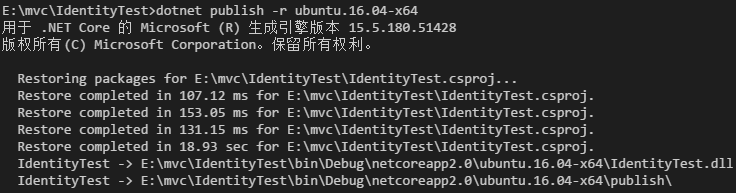
.net core 2.0发布使用dotnet publish
dotnet publish -r ubuntu.16.04-x64
可以看到已经发布成功了,截图如下:
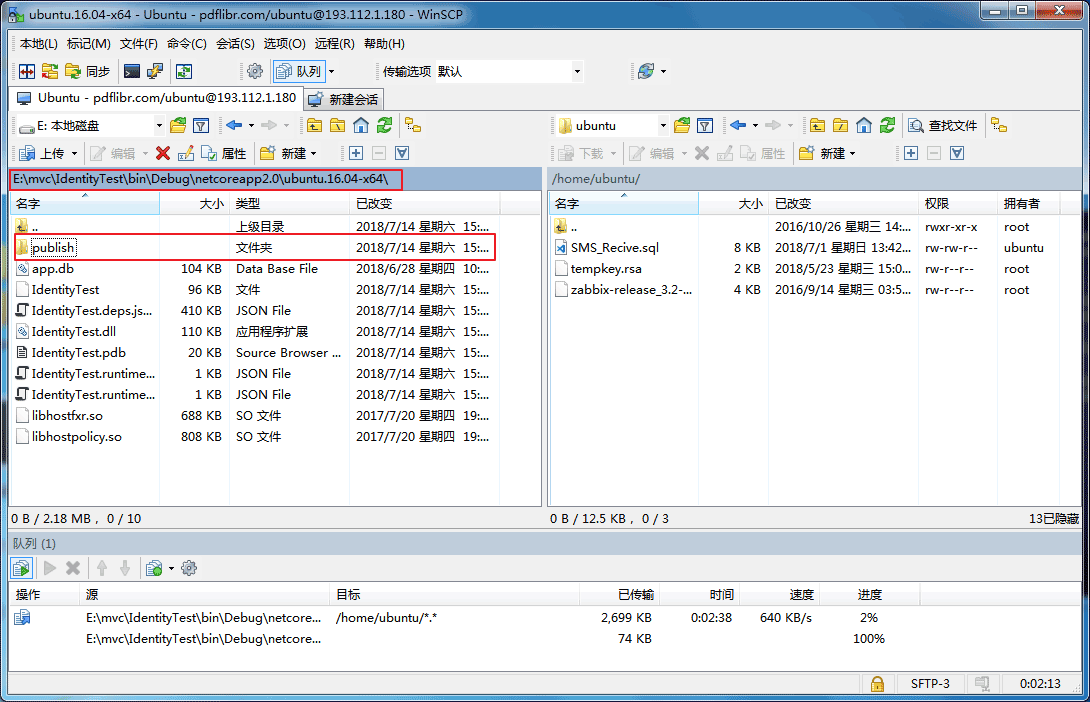
发布完成之后,需要将程序上传至服务器。
我是用的是WinScp,可以在这里下载:WinSCP PuTTY,看个人喜欢。
之后切换到root账户:
sudo su root
切换到/var/目录下,新建IdentityServer4_Login文件:
cd /var/
mkdir IdentityServer4_Login
之后切换到/home/目录下,开始上传:
为什么不在刚才新建的目录上传?
因为没有权限。
上传完成之后,将文件移动到IdentityServer4_Login文件夹下面:
mv -f /home/ubuntu/publish /var/IdentityServer4_Login
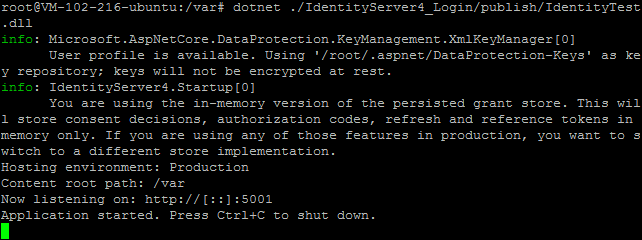
之后开始运行:
dotnet /var/IdentityServer4_Login/IdentityTest.dll
但是运行中还是报错了,关键信息:
System.IO.IOException: Failed to bind to address http://127.0.0.1:5000: address already in use. ---> Microsoft.AspNetCore.Server.Kestrel.Transport.Abstractions.
是应为端口被占用了,服务器上面应该运行了其他的程序,导致端口被占。
修改一下端口(修改program.cs文件,修改默认端口):
using System;
using System.Collections.Generic;
using System.IO;
using System.Linq;
using System.Threading.Tasks;
using Microsoft.AspNetCore;
using Microsoft.AspNetCore.Hosting;
using Microsoft.Extensions.Configuration;
using Microsoft.Extensions.Logging;

namespace IdentityTest
{
    public class Program
    {
        public static void Main(string[] args)
        {
            BuildWebHost(args).Run();
        }

        public static IWebHost BuildWebHost(string[] args) =>
            WebHost.CreateDefaultBuilder(args)
                .UseStartup()
                .UseUrls("http://*:5001")
                .Build();
    }
}
之后再次上传,运行,这次没有问题,成功运行。
但是这个一关闭窗口结束运行,我需要写一个服务,其他方式也可以,根据自己需求。
切换到/etc/systemd/system/,新建一个服务:
vi IdentityServer4_Login.service
文件内容如下:
[Unit]
     Description=IdentityServer4 Login .NET Web Application running on Ubuntu
[Service]
     WorkingDirectory=/var/IdentityServer4_Login/publish
     ExecStart=/usr/bin/dotnet /var/IdentityServer4_Login/publish/IdentityTest.dll
     Restart=always
     RestartSec=10
     SyslogIdentifier=dotnet-example
     User=ubuntu
     Environment=ASPNETCORE_ENVIRONMENT=Production
[Install]
     WantedBy=multi-user.target
接下来运行服务:
systemctl start IdentityServer4_Login.service
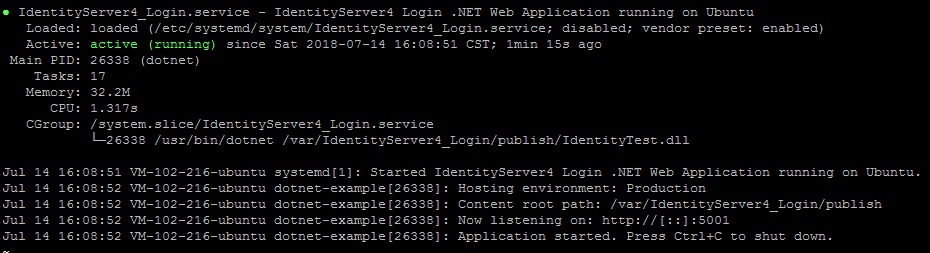
看看服务是否正常运行:
systemctl status IdentityServer4_Login.service
设为开机启动:
systemctl enable IdentityServer4_Login.service
之后开始设置nginx:
切换到nginx目录:
cd /etc/nginx/sites-available/
编辑default文件:
vi default
插入如下内容:
server {
        listen 80;
	server_name login.pdflibr.com;
        location / {
        	proxy_pass http://localhost:5001;
            	proxy_http_version 1.1;
             	proxy_set_header Upgrade $http_upgrade;
		proxy_set_header Connection keep-alive;
             	proxy_set_header Host $host;
             	proxy_cache_bypass $http_upgrade;
		}
	}
保存,之后重新检查Nginx是否配置正确:
sudo nginx -t
如果没有问题,重启nginx服务:
systemctl restart nginx
之后就可以通过域名访问网站了。
黄兵个人博客原创。
评论列表