文章内容
2018/1/19 13:55:53,作 者: 黄兵
PyCharm激活服务器
作为Python开发者,找一款好用的IDE很有必要,PyCharm作为一个优秀的Python IDE实至名归。产品很好,奈何我们这些……看到这高昂的价格,自已又囊中羞涩,只好找一个能激活的服务器,或则是自己架设授权服务器。如果经济能力尚可推荐购买正版,地址:PyCharm购买地址
首先是下载IntelliJIDEALicenseServer,
下载地址:IntelliJIDEALicenseServer
下载后有很多版本,如果你电脑是windows,对应的使用windows后缀的,Mac OS使用darwin后缀,
os x 10.12上需要把upx加的壳脱掉,用高点的端口
brew install upxupx -d IntelliJIDEALicenseServer_darwin_amd64
Ubuntu/centos等没有对应后缀的用linux,要注意区别32/64位,amd64是64位,386是32位。
windows下就不介绍了,点击就可以用,如果需要自定义参数,请根据采用命令行带参数运行,,参数如下:
-l 指定绑定监听到哪个IP(私人用)
-u 用户名参数,当未设置-u参数,且计算机用户名为^[a-zA-Z0-9]+$时,使用计算机用户名作为idea用户名
-p 参数,用于指定监听的端口
-prolongationPeriod 指定过期时间参数
PS:若在程序工作目录中存在IntelliJIDEALicenseServer.html文件,则返回IntelliJIDEALicenseServer.html中的内容到用户浏览器。
接下来看看如何在Linux服务器上部署IntelliJIDEALicenseServer,
复制IdeaServer文件夹到/var/JetBrains目录下
目录结构如下:
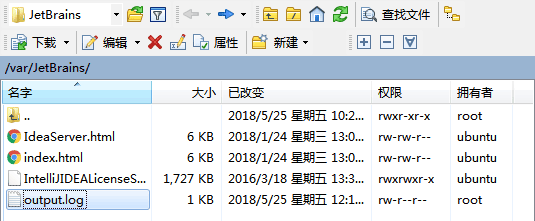
打开
/etc/rc.local(添加开机自启动)vi /etc/rc.local添加(需要以root权限执行命令):
 cd /var/JetBrains
 nohup ./IntelliJIDEALicenseServer_linux_amd64 -p 1017 -prolongationPeriod 999999999999 > log.out 2>&1 &
如果提示:
JetBrains.service: Failed at step EXEC spawning /var/JetBrains/IntelliJIDEALicenseServer_linux_amd64: Permission denied则是没有对IntelliJIDEALicenseServer_linux_amd64赋予执行权限,使用如下命令对IntelliJIDEALicenseServer_linux_amd64设置可执行:chmod +x ./IntelliJIDEALicenseServer_linux_amd64
配置Nginx反向代理
 server {
     listen       80;
     server_name  ideaserver.pdf-lib.org;

     location / {
         proxy_redirect off;
         proxy_set_header Host $host;
         proxy_set_header X-Real-IP $remote_addr;
         proxy_set_header X-Forwarded-For $proxy_add_x_forwarded_for;
         proxy_pass http://127.0.0.1:1017;
         proxy_redirect http://127.0.0.1:1017 http://ideaserver.pdf-lib.org;
     }
     location /static/  {
         root  /var/JetBrains/;
         expires      7d;
     }
 }
重启Nginx
service nginx restart
我服务器上有多个网站,需要配置nginx多个网站,代码如下:
server {
	listen 80 default_server;
	listen [::]:80 default_server;
	location / {
		proxy_pass http://localhost:5000;
		proxy_http_version 1.1;
		proxy_set_header Upgrade $http_upgrade;
		proxy_set_header Connection keep-alive;
		proxy_set_header Host $host;
		proxy_cache_bypass $http_upgrade;
	}

	# SSL configuration
	#
	# listen 443 ssl default_server;
	# listen [::]:443 ssl default_server;
	#
	# Note: You should disable gzip for SSL traffic.
	# See: https://bugs.debian.org/773332
	#
	# Read up on ssl_ciphers to ensure a secure configuration.
	# See: https://bugs.debian.org/765782
	#
	# Self signed certs generated by the ssl-cert package
	# Don't use them in a production server!
	#
	# include snippets/snakeoil.conf;

	# Add index.php to the list if you are using PHP
	index index.html index.htm index.nginx-debian.html;

	# pass the PHP scripts to FastCGI server listening on 127.0.0.1:9000
	#
	#location ~ \.php$ {
	#	include snippets/fastcgi-php.conf;
	#
	#	# With php7.0-cgi alone:
	#	fastcgi_pass 127.0.0.1:9000;
	#	# With php7.0-fpm:
	#	fastcgi_pass unix:/run/php/php7.0-fpm.sock;
	#}

	# deny access to .htaccess files, if Apache's document root
	# concurs with nginx's one
	#
	#location ~ /\.ht {
	#	deny all;
	#}
}


server
{
	listen 80;
	server_name ideaserver.pdf-lib.org;
	root /var/JetBrains/;

	location / {
		proxy_pass http://127.0.0.1:1017;
		proxy_redirect off;
		proxy_set_header Host $host;
		proxy_set_header X-Real-IP $remote_addr;

		proxy_set_header X-Forwarded-For $proxy_add_x_forwarded_for;
	}
	access_log off; #access_log end
	error_log /dev/null; #error_log end
}
如果运行成功,可以看到log.out的文件有如下内容:

最后架设好了,地址是:http://ideaserver.pdflibr.com,这个可以激活PyCharm、WebStrom、IntelliJ IDEA、PhpStorm、ReSharper
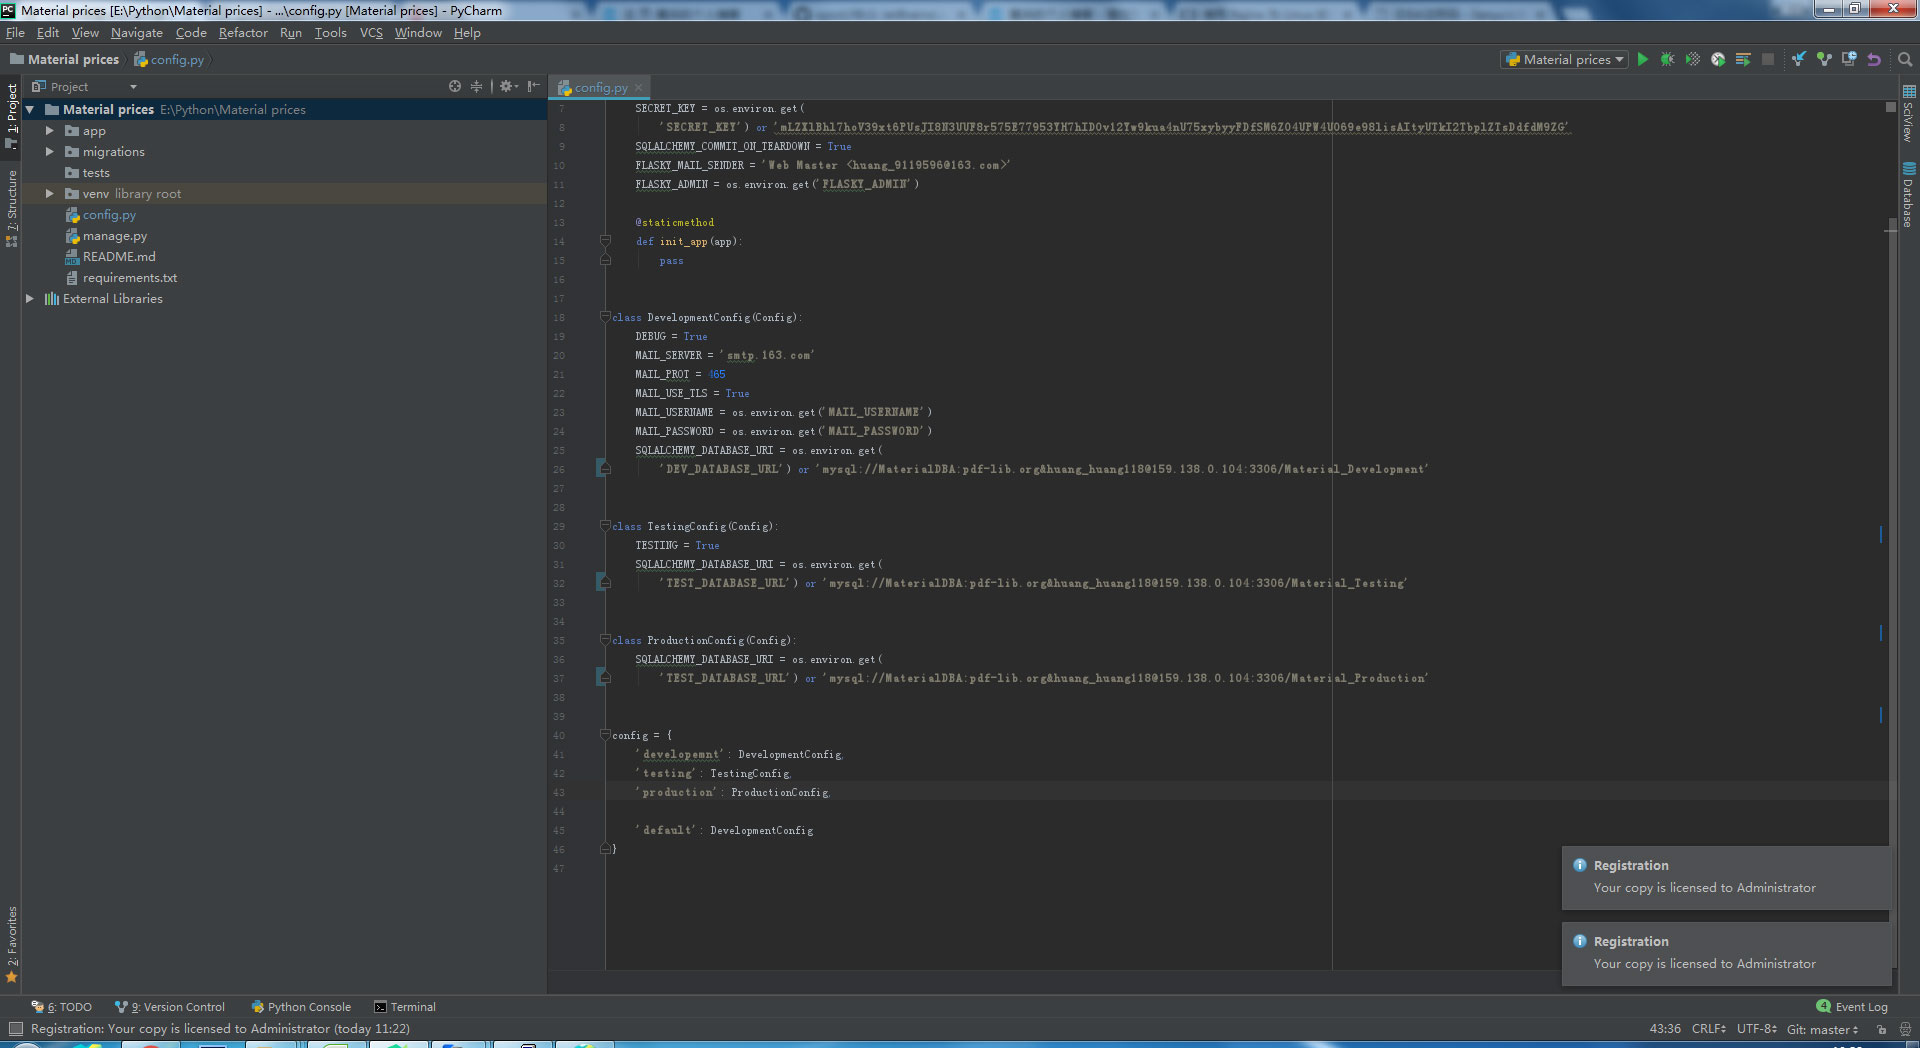
如何激活PyCharm、WebStrom、IntelliJ IDEA、PhpStorm、ReSharper(点击下面的图片可以放大)看下面操作:
2018年7月2日更新:
因版本升级,上面的方法有可能失效,使用服务功能启动:
在/etc/systemd/system/新建一个JetBrains.service的服务,具体内容如下:
[Unit]
Description=JetBrains Activity Server application.
After=network.target
[Service]
User=ubuntu
WorkingDirectory=/var/JetBrains/
ExecStart=/var/JetBrains/IntelliJIDEALicenseServer_linux_amd64
[Install]
WantedBy=multi-user.target
之后执行如下命令:
所有命令都加了注释,可以很清楚的看到整个一个流程。
#重新加载服务列表
 systemctl daemon-reload
#启动服务
 systemctl start JetBrains.service
#开机自动启动
systemctl enable JetBrains.service
参考地址:
黄兵个人博客原创。
转载请注明出处:黄兵个人博客 - PyCharm激活服务器
发表评论
评论列表

cx f on 回复 有用(102)
今年貌似 lanyu收手了。。。

游客Dw25 on 2019-11-24 10:21:42
博主回复:已经的版本还可以激活。如果想使用最新版的,可以买学生版,我买的3元一年,包括JetBrains全家桶。
游客$f?q on 2019-11-24 10:22:04
博主回复:以前的版本还可以激活。如果想使用最新版的,可以买学生版,我买的3元一年,包括JetBrains全家桶。
游客eJ-4 on 2020-01-03 14:15:05
学生版怎么购买呢
游客7-rq on 2020-02-27 10:19:54
6
游客$NW^ on 2020-03-02 23:02:30
zhile.io这种加插件的还能用
e on 回复 有用(0)
e