文章内容
2017/11/17 17:22:39,作 者: 黄兵
GETTING STARTED WITH RABBITMQ IN ASP.NET
In the last post we looked at how to set up RabbitMQ in a Windows container. It was quite the adventure and I’m sure it was woth the time I invested. Probably. Now we have it set up we can get to writing an application using it.
A pretty common use case when building a web application is that we want to do some background processing which takes longer than we’d like to keep a request open for. Doing so would lock up an IIS thread too, which ins’t optimal. In this example we’d like to make our user creation a background process.
To start we need a command which is just a plain old CLR object
public class AddUser |
That all looks pretty standard. In our controller, we’ll just use the handy UserCreationSender
public class HomeController : Controller |
There that was easy. In our next post, we’ll… what’s that? I’ve missed actually showing any implementation. Fair point, we can do that.
public void Send(string firstName, string lastName, string emailAddress) |
Values here are hard coded which we don’t want to do usually, check out https://aspnetmonsters.com/2016/01/Configuration-in-ASP-NET-Core-MVC/ for how to pull in configuration. Ignoring that we start by creating a conneciton factory with connection information for RabbitMQ. We then create a new queue (or ensure that it already exists) called “niftyqueue”. There are some other parameters in the queue creation we can get into in a future article.
Next we’ll create an AddUser command and serialize it to JSON using good old Json.net then get the bytes. Rabbit messages contain a byte array so we have to do a tiny bit of leg work to get our CLR object into a form usable by the transport. JSON is the standard for everything these days so we’ll go with the flow. In a real system you might want to investigate Protocol Buffer or something else.
Finally we perform a basic publish, sending our message. The Rabbit management site provides a super cool view of the messages being published on it
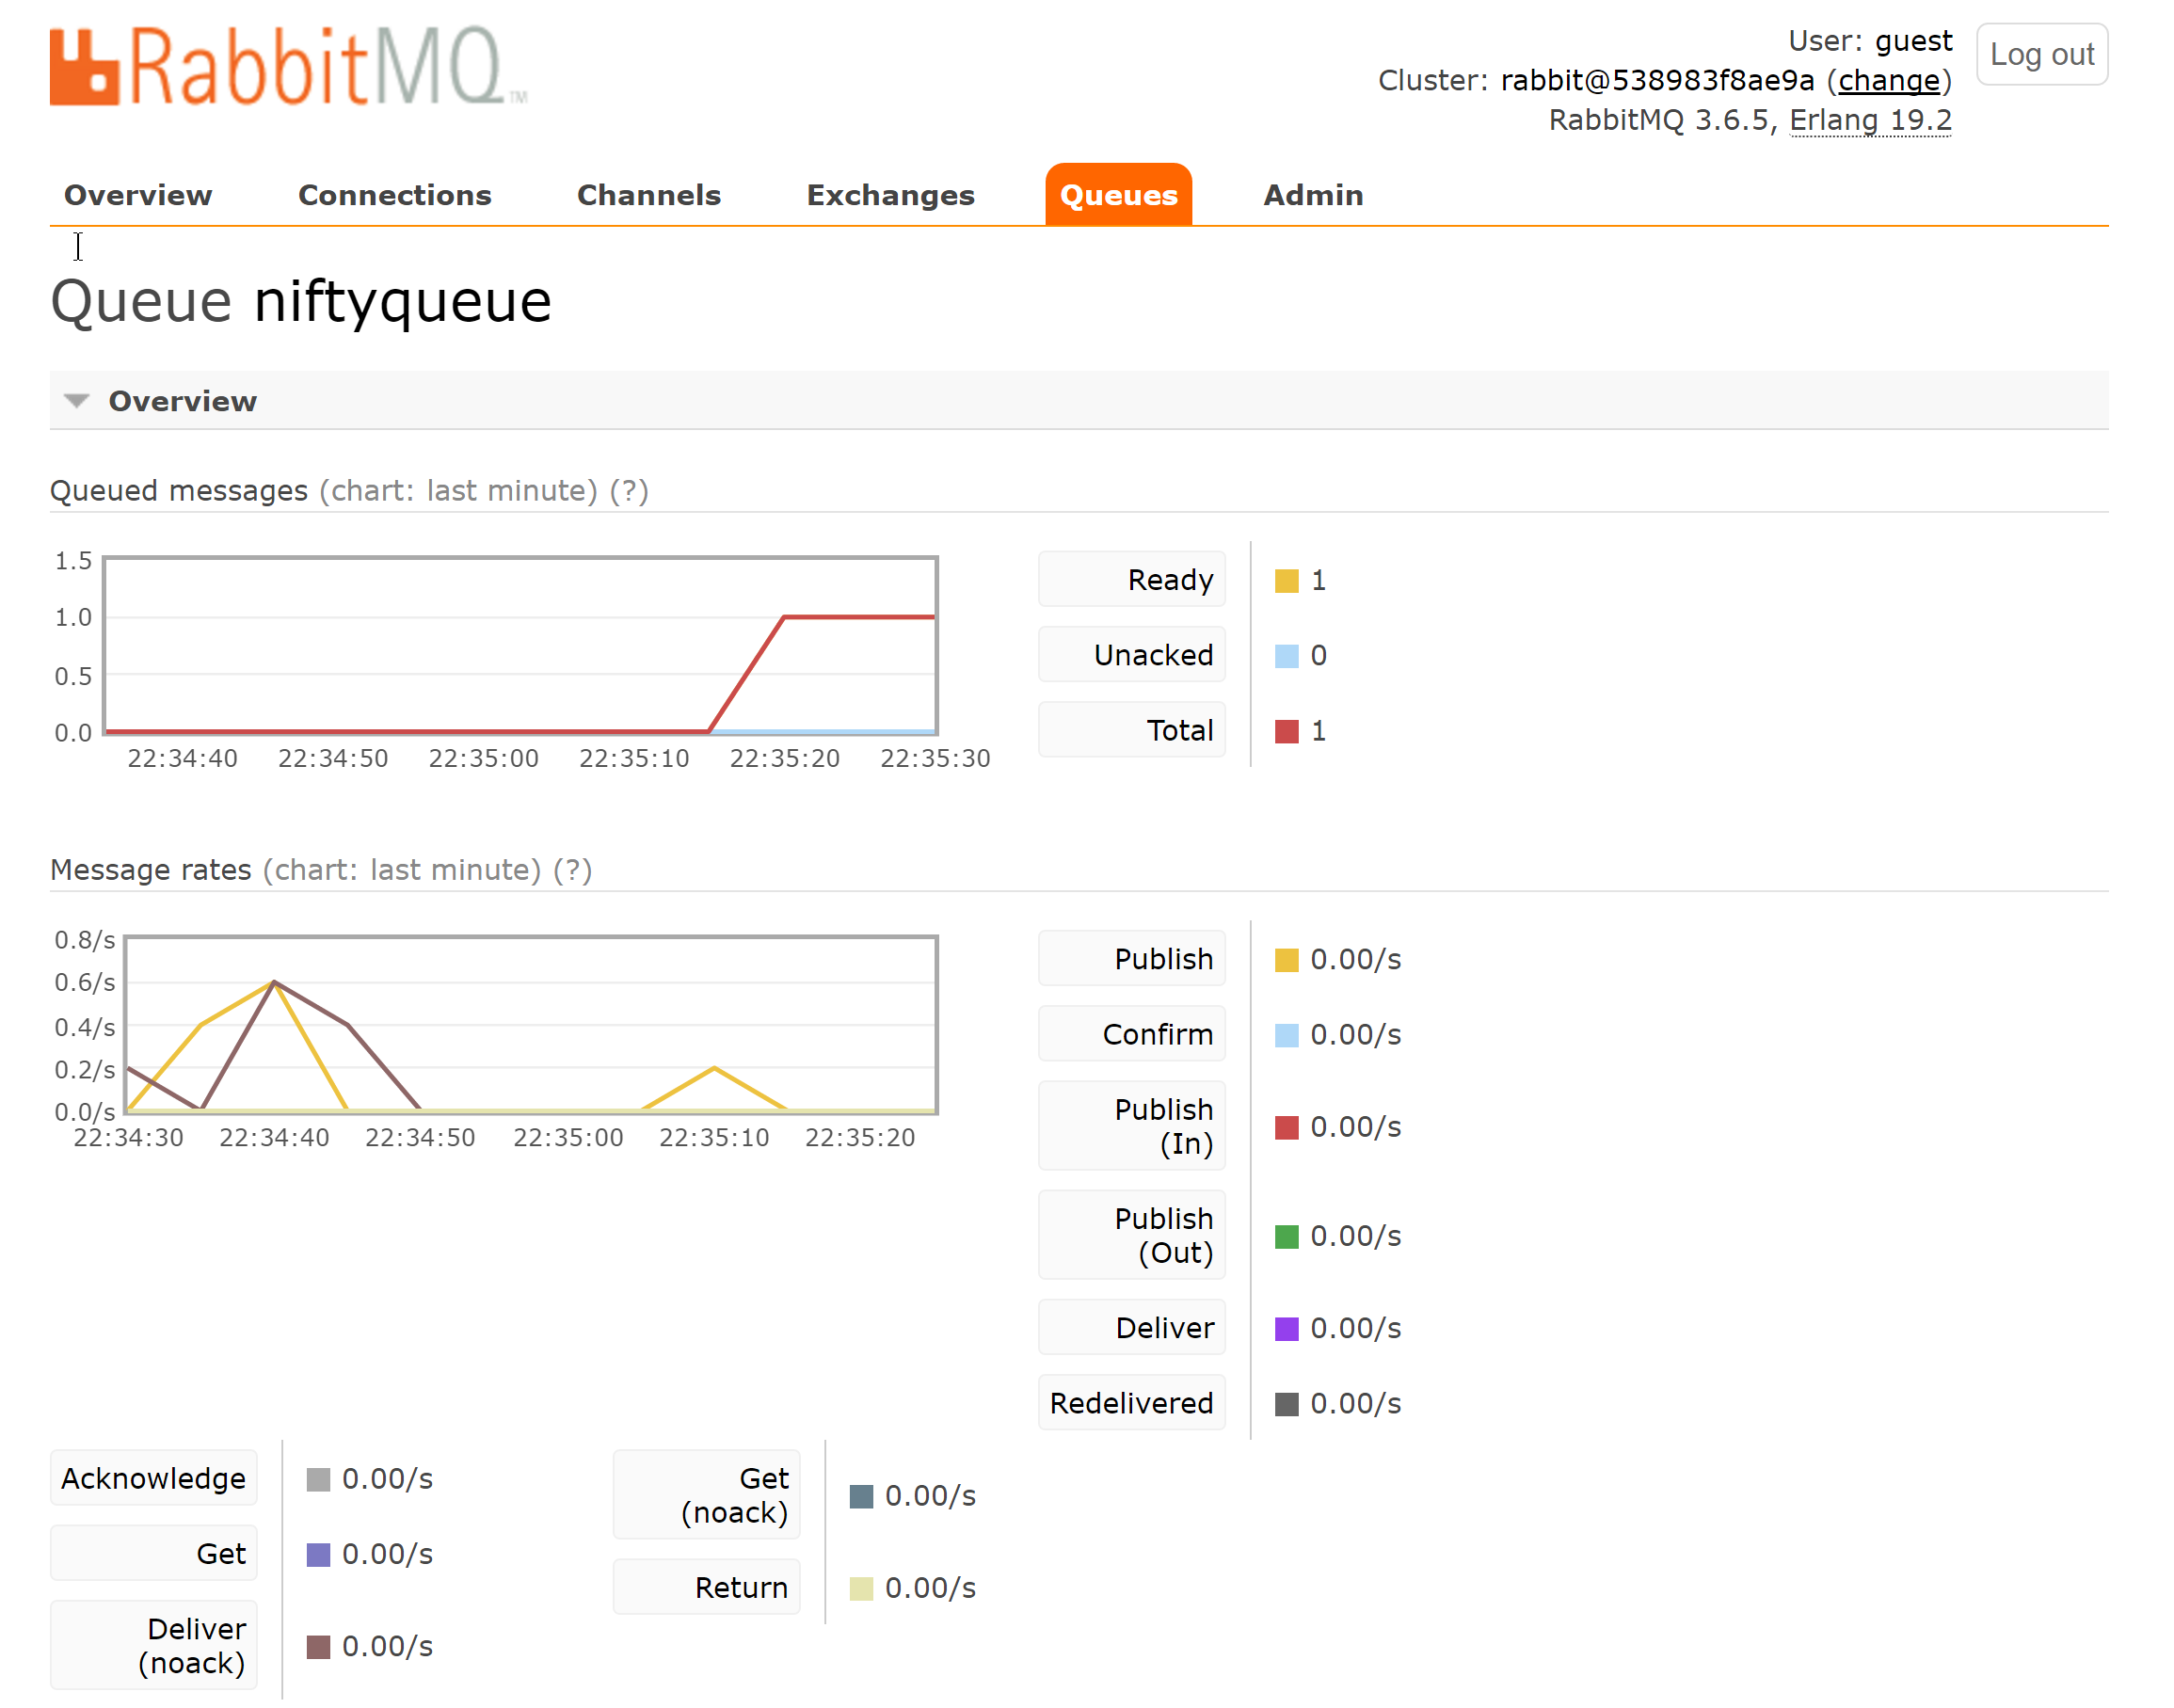
How cool is that? Man I like real time charts.
Shoving messages into the bus is half the equation, the other half is getting it out again. We want to have a separate process handle getting the message. That looks quite similar to the message sending.
public static void Main(string[] args) |
Again we create the factory and the queue (some opportunity there for refactoring, me thinks). Next we start up an EventingBasicConsumer on top of the channel. There are a couple of different ways to consume messages none of which I really love. The eventing model seem the leas objectionable. You simply assign a delegate to the event handler and it will fire when a message is recieved.
In the next post I’ll start taking a look at how we can layer MassTransit, a .NET message bus, on top of raw RabbitMQ. The result is a much more pleasant experience then simply hammering together raw RabbitMQ.
评论列表